It's Saturday!! That means it's time for another challenge from Di's Digi Designs.
The challenge this time is: Show Sparkle
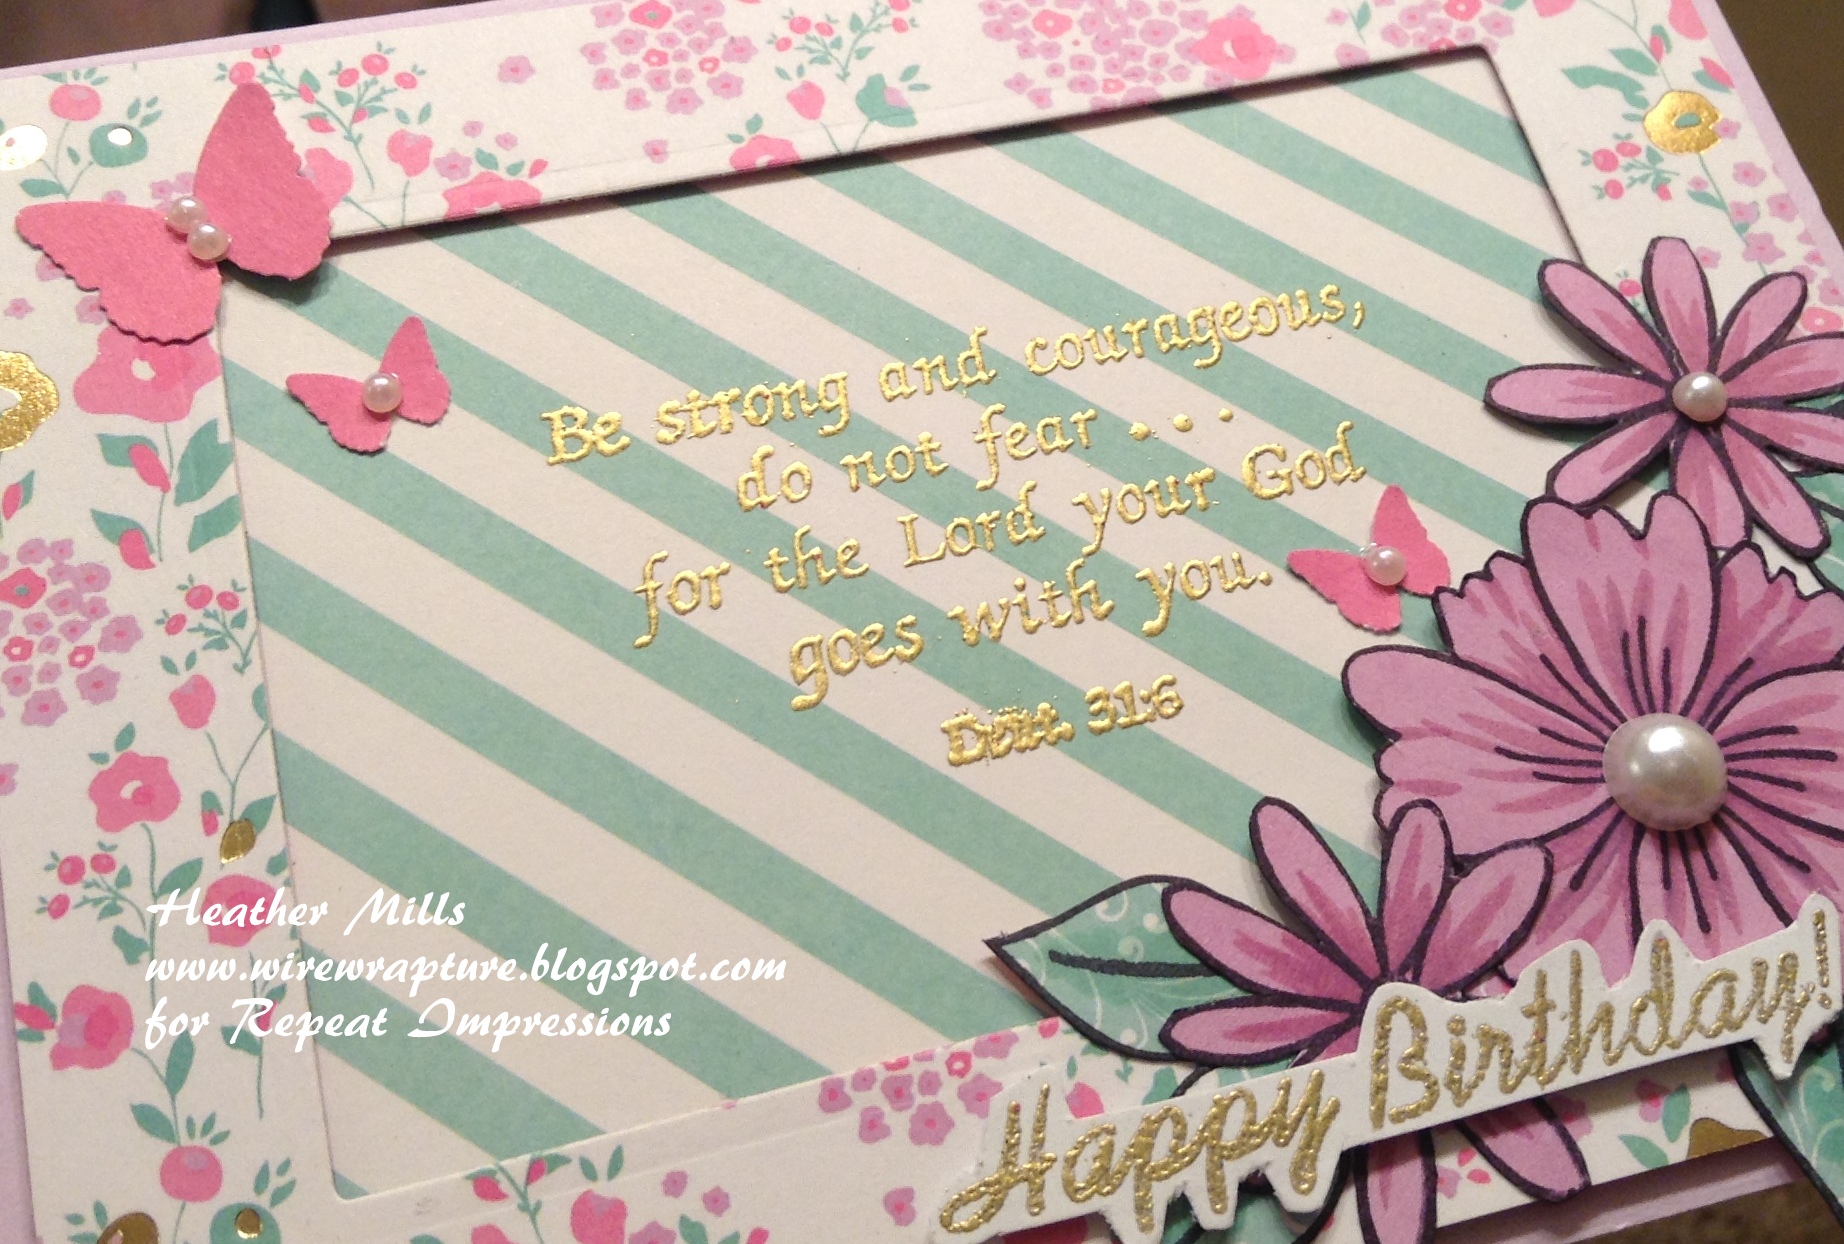
And here is my card for your inspiration:
And here is my card for your inspiration:

I hope you will get a chance to play along with us; I can't wait to see what you create. And make sure you hop over to the Di's Digital Designs blog to see what the rest of the team has made for this challenge.
Supplies:
Stamps: Di's Digi Stamps "Jungle Shelf" digi; PaperTrey Ink "Big Birthday Wishes"
Dies: PaperTrey Ink number border die
Challenges:
Crafty Hazelnut's Patterned Paper--anything goes with patterned paper
Sweet Stampers #56--animals, critters or birds
Lil' Patch of Crafty Friends #158--anything goes
Try Stampin' On Tuesday #507--sketch AND/OR a see through section (I used the sketch)

ART Impressions--birthday
Aud Sentiments #275--for the girls
Cardz TV #141--anything goes
A Gem of a Challenge--anything goes
Use Your Stuff #423--tic tac toe (I used the bottom row: paper piecing/shiny or sparkly/purple)

Penny's Challenges #497--anything goes
Simon Says Stamp Wednesday--anything goes
Cute Card Thursday #688--anything goes with the optional twist: critters