Wednesday, October 7, 2020

I saw a star

Happy Wednesday!!  It's time for another challenge from The House That Stamps.  This week is a Designer's Choice Challenge and Donna has chosen: Less is More.

And here is the card I created:
CAS cards have been something I really struggled with in the past, but I have to say I think I am finally getting the hang of it!  I stamped my image on the card base and then stamped it again on some scrap paper for a mask so I could blend on some green ink for the ground and a pale blue for the sky.  I colored the image after removing the mask and added a bit of yellow ink blending around the star.  To keep it nice and clean while adding some interest, I embossed around the edge with a stitched die.  The inside edge of the die also embossed a nice, soft line on the inside edge of the stitching.  Then, I stamped my sentiment and add one lone yellow gem to the center of the star.

Thanks for stopping by!  Make sure you head on over to The House blog to see what the rest of the Design Team has done with this photo.  And if you "need" any of the stamps I used, check out my 10% off your entire order coupon code over in my lift sidebar.

Supplies:
Stamps: Repeat Impressions "Shepherd Boy" and "Christmas"
Dies: STAMPlorations stitched rectangle die

Challenges:
Creative Fingers #194--anything goes
Cards Galore #80--anything goes
2 Crafty Critter Crazies #43--anything goes with a critter
Moving Along with the Times #123--animal(s) or bird(s)
Crafty Hazelnut's Christmas Challenge #510--anything goes with the optional twist: sentient as the focal point
Simon Says Stamp Monday--dry embossing (I dry embossed my stitched die)
Crafting Happiness--anything goes

Thursday, October 1, 2020

Heartfelt Sympathy

A new month has arrived and that means a new challenge from the Love To Scrap Challenge Blog.  This month's challenge is Autumn/Halloween.

And here is the card I created:

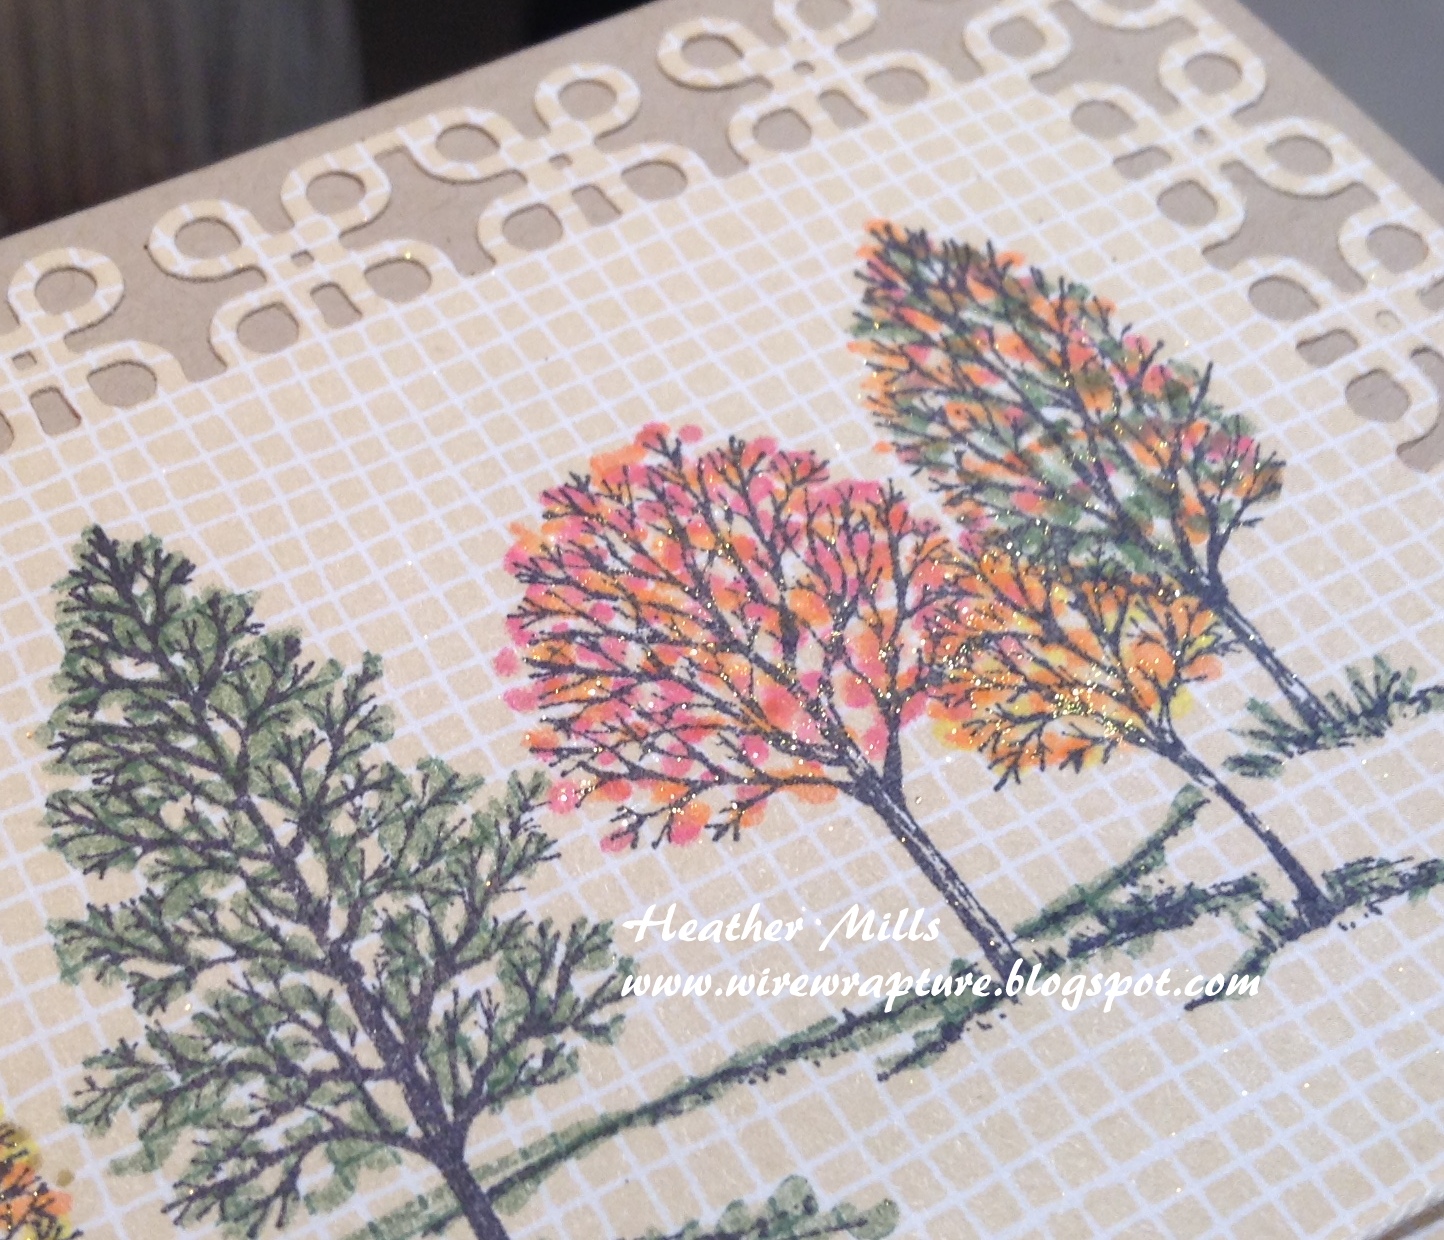
I had actually die cut the patterned paper for a different card which didn't end up working out.  But, as I had it still sitting on my desk, I really wanted to use it.  The tree image fit perfectly and I though the fancy die cut edges were subtle enough to use for a sympathy card, but also dressed it up a little bit.  I've had this paper for AGES, and actually had it out for another project that I will be posting soon.  To turn the bare trees into fall trees, I used some foliage colored markers and just dotted on the "leaves"  Then I added some gold Nuvo shimmer pen to the trees to add some sparkle.  It's really tough to catch in the photo, but in real life, it is really subtle and pretty.  You can see it a little in the photo below.
I finished it all off with a sympathy sentiment and some twine, then adhered the panel to the base with some spray adhesive.  I thought that was the best way to adhere all the delicate edges.

Thanks so much for stopping by!  Head on over to the LTSCB blog to see what the rest of the team has created and to get the full details of the challenge.  Then get inky and play along with us; I can't wait to see what you create.

Supplies:
Stamps: SU! "Lovely As a Tree"; PaperTrey Ink "Through the Trees" sentiment
Dies: Spellbinders "A2 Locking Loops"

Challenges:
Creative Fingers #193--anything goes
Crafty Friends #145--autumn colors
Retro Rubber #144--anything goes (I have had this SU! set for at least 5 years, probably longer, and the PaperTrey Ink set for close to 10 years)
Hero Arts Stay Crafty #15--Fall and Halloween


Crafty Catz #520--anything goes with the optional twist: colors of autumn
Cardz TV #124--anything goes
A Gem of a Challenge--anything goes

Wednesday, September 30, 2020

Fall Splendor

Happy Wednesday!!  It's time for another challenge from The House That Stamps Built and this week we have an awesome sketch for you:

 And here is the card I created for your inspiration:
This card was made with one of those sheets of paper that come in a paper pack that you think is really pretty but wonder how you would ever use it.  The leaf image is beautiful and I love the text background, but the leaves are right in the center of the sheet, so would be covered up by any layers I added to the card.  But this sketch challenge gave me the perfect idea!  I started by die cutting the oval out of the middle of the sheet and layered it on a piece of copper glitter paper.  Then I used my stitched rectangle die to die cut the background panel, cutting around the already die cut oval hole.  I layered the glitter oval over the hole in the background, matching up the leaf ends as best I could and it is a perfect match!  The sentiment was stamped and heat embossed with clear embossing powder for shine on a scrap of the same sheet of patterned paper.  The little banner strips were also scraps from the same paper pack.  All in all, it was quick and easy, used up (most of) that sheet of paper, and is so pretty with all the sparkle!
Thanks for stopping by!  I hope you will hop over to the House blog to see the rest of the DT's creations and then get inky and play along with us.  And if you need any of the stamps I used, check out my 10% off your ENTIRE order coupon code over in my left sidebar.

Supplies:
Stamps: Repeat Impressions "Thinking of You"
Dies: Spellbinders "Classic Ovals, large"; MFT "Blueprints 13" stitched rectangle

Challenges:
Crafty Hazelnut's Patterned Paper--anything goes with patterned paper
Stinkin' Inkers--times 3 (I used three patterned banners and three gems)
Paper Funday #21--anything goes with the optional twist: autumn/fall
Creative Fingers #193--anything goes
YNS #148--fall festival
Cut It Up #209--Happy Fall Y'all (with at least three layers)
Crafty Friends #145--autumn colors
Hero Arts Stay Crafty #15--fall and Halloween


Crafty Catz #520--anything goes with the optional twist: colors of autumn
Cardz TV #124--anything goes
Crafting Happiness--anything goes
Tuesday Throwdown #467--make it sparkle

Saturday, September 26, 2020

Groovin'

It's Saturday!!  That means it's time for another challenge from Di's Digi Designs.
The challenge this time is: Make it Masculine
And here is my card for your inspiration:
This is my favorite Di's image to use for masculine cards!  He's just so cute, and so hip!!  My printer was running out of black ink when I printed this so, the ink came out much lighter than normal and it gave it sort of a no line coloring look.  That's about the only way I can pull off that look and usually when this happens, I end up tracing over all the lines with a fine black pen.  But this time, I left it and I like the artsy feel it gives.  The pattern papers were already cut to the exact size I needed, so all I had to do was stamp the sentiment and add some fun enamel dots.

I hope you will get a chance to play along with us; I can't wait to see what you create.  And make sure you hop over to the Di's Digital Designs blog to see what the rest of the team has made for this challenge.

Supplies: 
Stams: Di's Digi Stamps "MP3 Mike" digi; Papertrey Ink "World's Greatest" sentiment

Challenges:
Cutie Pie Challenge #151--birthday party
Crafty Hazelnut's Patterned Paper--anything goes with patterned paper
Crafty Sentiments--anything goes
Crafty Creations #413--anything goes
Penny's #480--anything goes
MFT Birthday--kids or kids at heart
Aud Sentiments #260--anything goes
Creative Fingers #193--anything goes


Wednesday, September 23, 2020

Love

 Last weekend was my in-law's 44th wedding anniversary!  This is the card I created for them:
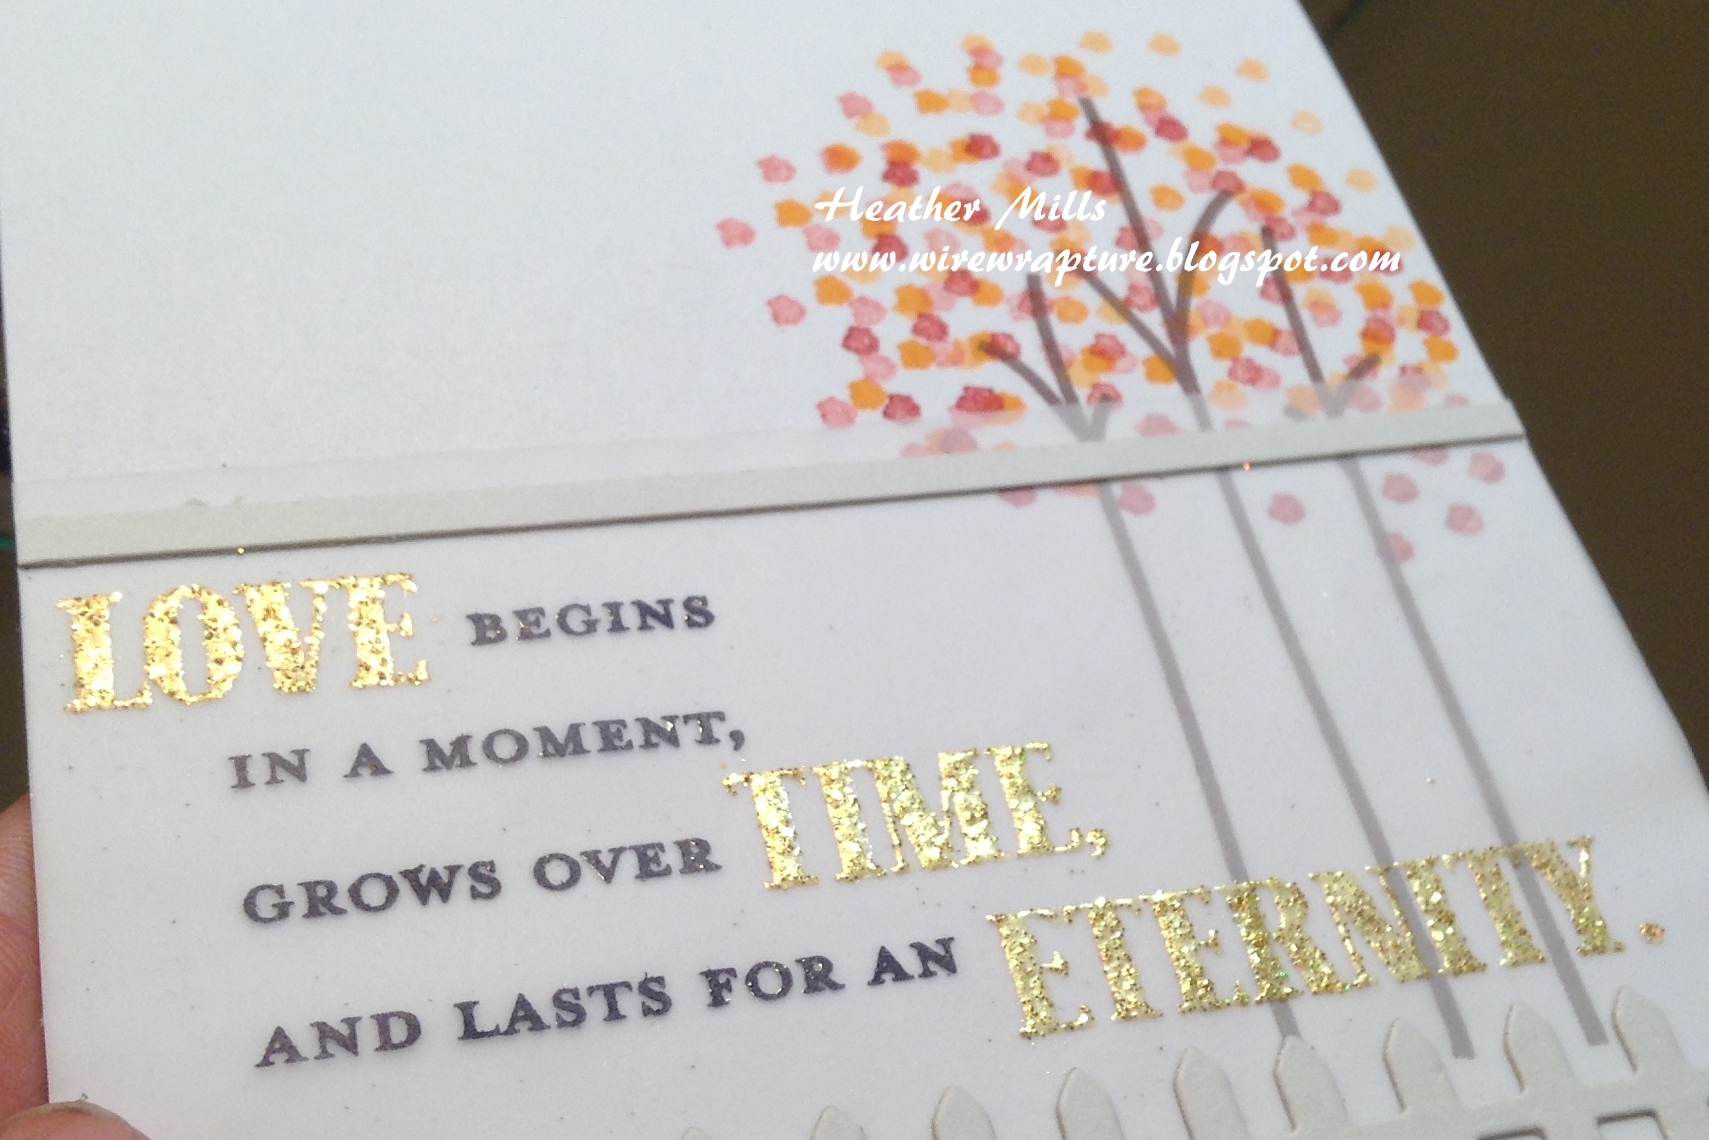
I stamped the tree stems first and then the leaf images in both red and orange, stamping a second time without reinking to create the multiple shades.  Then I had the most difficult time creating that vellum sentiment strip!  I first tried heat embossing the black part and then adding in the gold embossed words, but I ended up with a little smattering of extra black embossing powder that just bothered me too much to ignore.  But as each of the gold words is a separate stamp, it was a lot of work to do all the embossing again, plus, it really warps the vellum.  So, I just tried stamping the main sentiment with a nice, dark, crisp black and then embossing the gold words separately.  This time it looked sooooo much better.  BUT, the vellum piece was so warped there was no way to adhere it to the panel and have it look good at all!  Extremely frustrated, I decided to try a trick I learned from someone (Jennifer McQuire, perhaps) and stuck it under a really heavy book and left it overnight (luckily I had started far enough in advance--which isn't always the case!).  The next morning, it was almost perfectly flat!!!!  Yeay!!!  So, I adhered the pale gray fence and strip on the top directly onto the vellum and then added liquid adhesive to the back of those pieces to attach it to the card.  Success!  In the photo below, you can see the sparkle and shine from the gold embossing powder; so pretty!


Supplies:

Stamps: CAS-ual Friday's "Calm and Gentle" tree and leaves; PaperTrey Ink "Inside & Out Love"

Dies: Sweet n' Sassy Stamps fence die

Challenges:

CAS(E) This Sketch #390--sketch


Paper Funday #21-anything goes with the optional twist: autumn/fall

Crafty Gals Corner #211--fall colours

Cuttlebug Mania--anything goes

Crafter's Cafe #251--seasons

Mod Squad Challenge--fall foliage

Double D Challenge--don't fence me in


Aud Sentiments #260--anything goes

YNS #148--Fall Festival

Crafty Friends #145--autumn colours


Cat's out of the bag

Happy Wednesday!!  It's time for another challenge from The House That Stamps Built and this week it is a fan favorite: Anything Goes!! And here is the card I created for your inspiration:
So, I had an entirely different card almost finished . . . and I just didn't like it at all!  Totally wasn't working.  And of course, it was only a few hours before the deadline.  So, I kept the cat image and scrapped the rest of the card (don't worry, it will make an appearance sometime, just in a different form!).  I found a fun patterned paper (the right paper definitely makes ALL the difference in the world!), picked a card base to match and die cut a border die out of the same card stock.  Added a few sequins in coordinating colors, and, phew, it is super cute!  I'm intending to send it to a male friend, but I think the colors and design could really work for either male or female.  And, yes, men can deal with a few sequins!
I stamped the cat image on white card stock and then the bag part ONLY on an actual paper bag scrap.  Then, I colored both, fussy cut the bag and adhered it on top of the main image.  I love doing that with this image as it adds a tiny bit of texture from the bag and looks a whole lot more real than if I tried to color it.
Thanks for stopping by!  I hope you will hop over to the House blog to see the rest of the DT's creations and then get inky and play along with us.  And if you need any of the stamps I used, check out my 10% off your ENTIRE order coupon code over in my left sidebar.

Supplies:
Stamps: Repeat Impressions "Curiosity Cat" and "The cat's out . . . "
Dies: Verve "Scalloped Trim Trio"

Challenges:
Pattie's Creations #174--anything goes
Crafty Hazelnut's Patterned Paper--anything goes with patterned paper
Creative Craft #133--include an animal
Crafty Calendar--anything goes
Dies R Us #152--one for the boys
Dare 2B Artzy--favorite color (I'm such a blue girl)
Cardz TV #123--anything goes
Try Stampin' On Tuesday #475--sketch with the optional twist: metallic (I used metallic sequins)

Penny's Challenge #480--anything goes
Aud Sentiments #260--anything goes
Incy Wincy--funny and/or let's celebrate
Crafting Happiness--anything goes


Wednesday, September 16, 2020

Sunflower cupcake

Happy Wednesday!!  It's time for another challenge from The House That Stamps.  This week we have a beautiful inspiration photo for you:


And here is the card I created:
As is my usual habit, I started this card with a sketch I fell in love with:

It was from the Handstamped Sentiments challenge blog and unfortunately, the challenge had already ended.  But I was already set on using the sketch, so I just went with it anyway.  As I was looking through my Repeat Impressions stamps, I hit upon the fun idea to create a sunflower cupcake topper.  So, I stamped, colored and fussy cut the cupcake image (cutting off the cherry on top so it would show behind the sunflower) and stamped and fussy cut the cupcake wrapper from a piece of scrap patterned paper.  After adhering the patterned wrapper onto the image, I stamped, colored and fussy cut the sunflower head and adhered it to the top of the cupcake.  And it is adorable!!  I had a die cut vellum circle in my bits and pieces stash that I used to help separate the image from the background.  For a little more interest, I stamped the postcard image in light gray ink onto the card base and then I watered down some brown gelato and splatted it onto the background.  I finished it off with some cinnamon stickles on the center of the sunflower (for some nice sparkle) and a couple orange/yellow gems.
Since this is actually a belated birthday card and I knew I had to get it in the mail right away, I actually stamped the same sunflower image on the envelope in a light gray ink.  I don't usually do that as I don't have my envelopes at my craft desk, but today I just happened to have a stack sitting there from some bridal shower invitations I just mailed out.
Thanks for stopping by!  Make sure you head on over to The House blog to see what the rest of the Design Team has done with this photo.  And if you "need" any of the stamps I used, check out my 10% off your entire order coupon code over in my lift sidebar.

Supplies:
Stamps: Repeat Impressions "Sunflower", "Cupcakes", "Postcard", and "Happy Birthday"
Dies: Spellbinders "Classic Circles, large"; Verve "Sprightly Sprigs"

Challenges:
Crafty Calendar--anything goes
Creative Inspirations--spots & dots or inky splats
Crafty Friends #144--anything goes
Crafty Catz #518--anything goes with the optional twist: use glitter and/or gems (I used yellow/orange gems and brown stickles which includes glitter)
Shopping Our Stash #429--make a mess (I used my gelatos with water to splatter on my card; oh, and stickles which can get messy if you forget to let them dry properly!)