Today is my turn to share a Project of the Week for the House That Stamps Built. One of my teammates asked for a tutorial on how I line up letter dies to cut perfectly straight words. So, here it is:
All you need is something with straight lines (I used my gridded cutting mat, but graph paper would work or probably any lined paper), washi tape, and letter dies.
I tear off a piece of washi tape that is long enough to span all of the letters I am using. I also tear off two short pieces. Line up the long piece, sticky side UP, along a straight line. Use the two smaller pieces to adhere it to the grid background.
Begin with the first letter of your word and line it up on the RIGHT hand end of the tape (cutting side UP), lining the bottom up with one of the lines below the tape.Continue adding your letters, spacing them out exactly as you want, making sure to line up the bottom of each letter with the same line. This would have been easier if I was making a word that didn't use the same letter more than once, but it will still work.Once you have your word all lined up, you can pick up the entire strip of tape and all the letters will stay right in line. Then you can place them on your piece of paper, cutting side down; the washi tape will hold them right in place.
After die cutting, remove the tape and your letters will be die cut perfectly straight.
If, like me, you need to use a letter a second time, just do the process over again, putting the letter needed into position. I left my "O" in the same place and moved the "M" over to the other side.I lined the "O" up in the already die cut "O" spot and ran it through my die cut machine again. The washi tape holds it right in place.
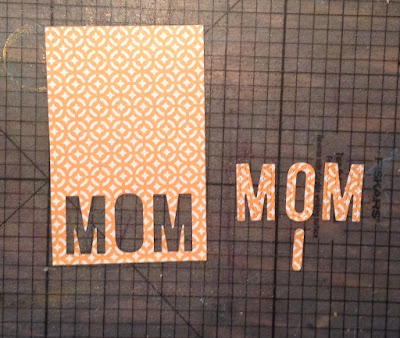
And here it is all die cut! I saved the cut out letters to use on another project, but make sure you keep any center pieces (such as the center from the "O") you will want to add them back in to make the letters look complete.
This is what the piece looks like once I finished the card off. (See how I added the center back into the "O" so it doesn't look like a big hole.)
For this card I used Repeat Impressions stamps "I'm so glad . . ." and "Butterfly (sm)"


No comments:
Post a Comment